The Ultimate Final Walk-Through: Your Last Look Before You Close
Buying a house is a journey filled with excitement, paperwork, and inspections. You've navigated the tricky parts—securing financing, making an offer, and getting through the home inspection. Now, just days or even hours before you sign the final papers, comes one of the most critical steps: the final walk-through.
This isn't just a courtesy visit. It's your last, best chance to ensure that the home is in the condition you agreed to purchase it in, that all negotiated repairs are complete, and that the previous owners have moved out as expected. Don't skip this crucial step!
Here’s your comprehensive guide to what to look for and how to conduct a successful final walk-through:
What is the Final Walk-Through?
The final walk-through is a buyer's contractual right to inspect the property one last time before closing. It typically happens 1 to 5 days before the closing date, after the seller has completely moved out.
The main goals are:
1. Verify Condition: To confirm the property is in the same or better condition as when you signed the purchase agreement (accounting for normal wear and tear).
2. Check Repairs: To confirm that all repairs you negotiated based on the inspection report have been completed to a satisfactory standard.
3. Confirm Inclusions: To ensure all items included in the sale (appliances, fixtures, etc.) are present and working.
4. Confirm Vacancy: To make sure the seller and all their belongings (including trash and debris) are gone.
Your Walk-Through Checklist: Getting Hands-On
Don't just stroll through. This is the time to be thorough and hands-on! Bring your real estate agent, a copy of your purchase agreement, and your inspection repair receipts.
1. Appliances and Systems
• Test all included appliances: Run the dishwasher through a short cycle. Turn on the oven and all stove burners. Check the refrigerator/freezer to ensure they are cooling.
• Test the HVAC: Run both the heating and cooling systems for a few minutes, even if the weather doesn't call for it.
• Check Electrical: Flip every light switch and test key electrical outlets with a phone charger or small appliance.
• Verify Fans: Turn on all ceiling fans and exhaust fans in bathrooms and the kitchen.
• Check the Water Heater: Look for any signs of leaks or damage.
2. Plumbing and Water
• Run the Faucets: Turn on both hot and cold water in all sinks, showers, and tubs to check pressure and drainage.
• Flush the Toilets: Flush every toilet to ensure they are working and not running constantly.
• Look for Leaks: Check under sinks in the cabinets for any new water stains or dampness.
• Garbage Disposal: Turn on the disposal to ensure it’s working.
3. Walls, Floors, and Doors
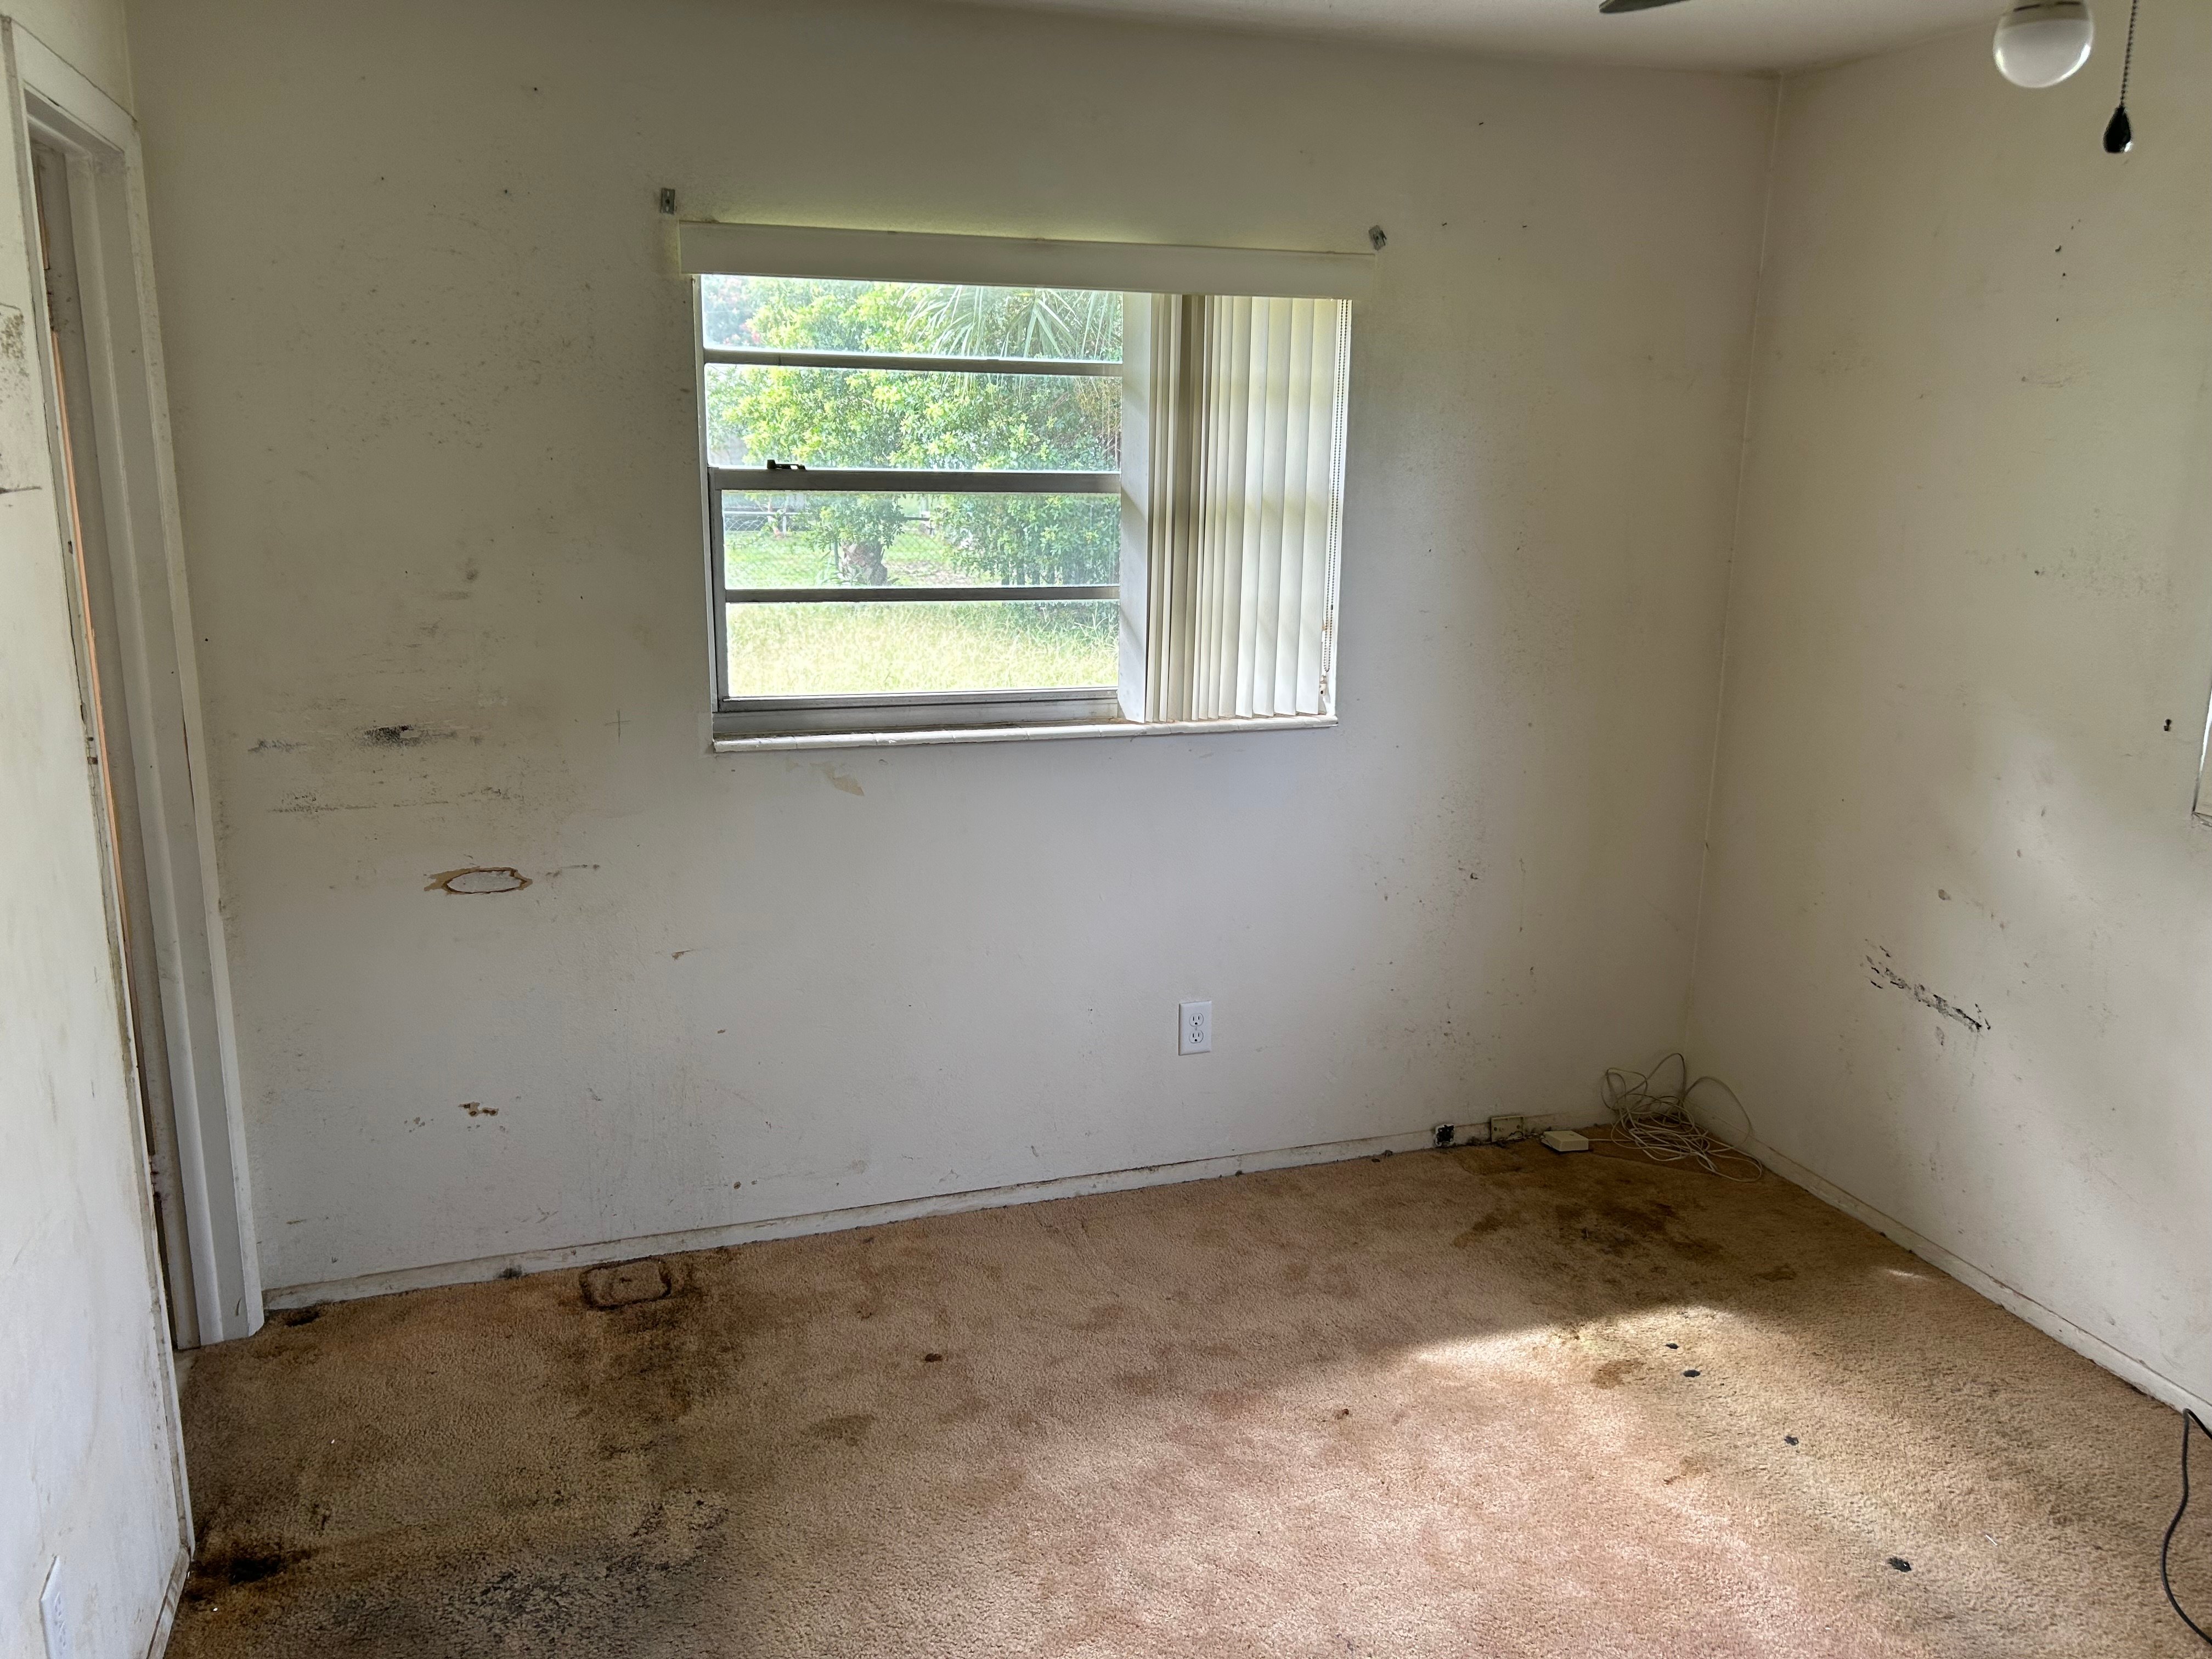
• Look for New Damage: Since all the furniture is gone, pay close attention to the floors, walls, and baseboards for any new gouges, scrapes, or carpet stains caused by the move-out.
• Windows and Doors: Open and close every window and door. Check that the locks function properly, and that all screens are present and undamaged.
• Garage Doors: Test the garage door opener and all remotes.
4. Repair Verification
• Review your repair addendum: Go to the location of every negotiated repair and visually confirm the work was done.
• Ask for receipts: The seller should provide receipts and/or warranties for any significant work performed (like a new roof or HVAC component).
5. Exterior and Yard
• Check the Garage/Basement/Attic: Ensure these storage areas are clear of the seller's trash or belongings. Look for any new signs of water damage or pests.
• Yard and Deck: Walk the exterior to confirm the landscaping is as expected and that any agreed-upon outdoor items (sheds, play structures) are still there.
What to Bring With You
1. Your Real Estate Agent: They are your professional advocate.
2. Purchase Agreement: To verify what items were included in the sale.
3. Repair Documentation: The list of repairs the seller agreed to complete.
4. Notepad and Pen (or your phone): To take notes and photos of any issues you find.
5. Small Outlet Tester (or a phone charger): To check electrical outlets.
6. Flashlight: For dark spaces like the attic, basement, or cabinets.
Finding an Issue? Don't Panic!
If you discover a problem—a broken window, an appliance that suddenly doesn't work, or an uncompleted repair—do not close. Immediately notify your real estate agent.
Minor issues can often be resolved with a quick fix before the closing appointment or by the seller offering a small credit to cover the repair cost. Major issues may require a delay in closing until the problem is fixed. Your agent will guide you through the negotiation process to ensure the issue is resolved according to the terms of your contract.
The final walk-through is the last checkpoint on your road to homeownership. Take your time, be thorough, and breathe a sigh of relief when you confirm that everything is perfect—because you're about to get the keys to your new home!
-1.png?width=204&height=95&name=Logo%20(xs)-1.png)

